

Published
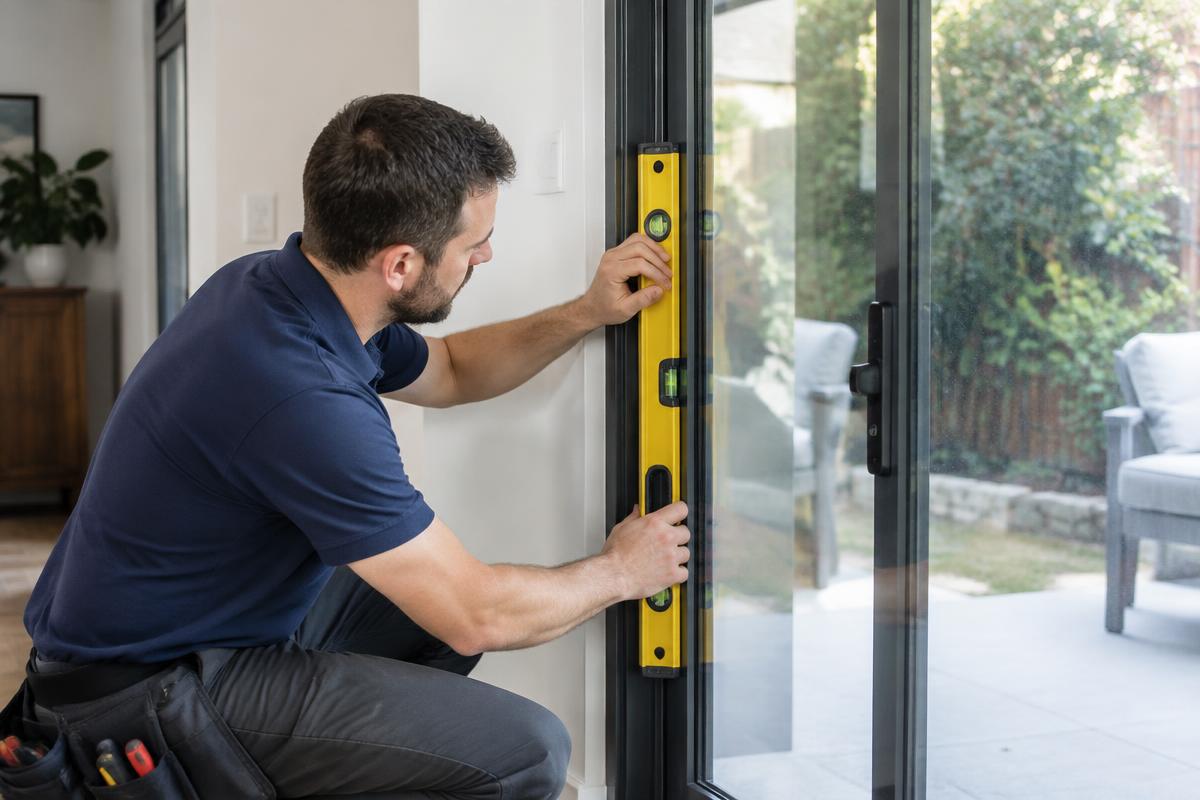
A top-hung sliding door is carried by rollers in an overhead track, with a lower guide helping control sideways movement. When the panel hangs unevenly, rubs, or no longer meets its latch correctly, a careful adjustment may restore its position. This guide explains safe preliminary checks, measured adjustment steps, and the signs that the hardware needs professional attention instead.
How a top-hung sliding door is supported
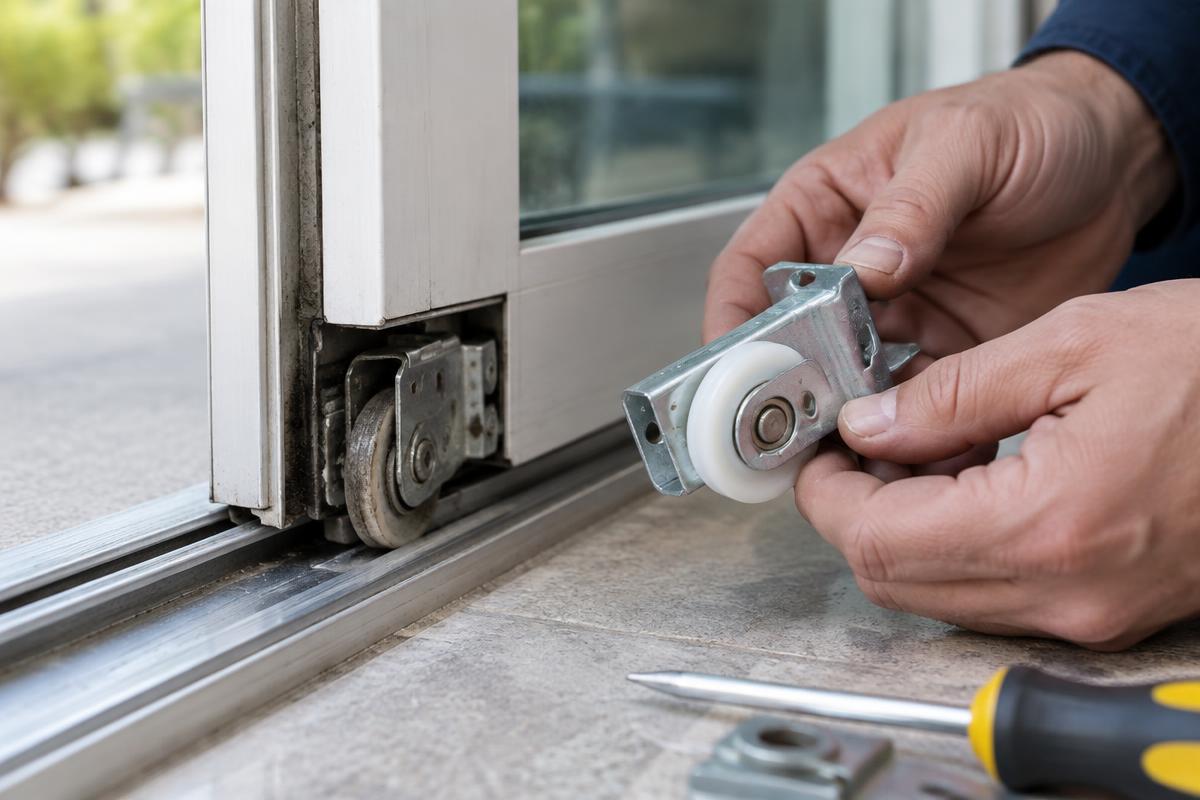
The defining feature is where the weight sits. Hangers near the top of the panel connect to rollers inside an overhead track, so the upper assembly carries the door while a guide at the floor or threshold limits swinging. The lower guide is not normally the main weight-bearing track. Understanding that difference helps avoid adjusting or forcing the wrong part.
Designs vary between glass doors, wardrobe doors, and interior room dividers. Adjustment points may sit on the hanger, behind a cover, or inside the upper track, and their direction of movement is not universal. Before turning anything, identify the door system and inspect the available instructions or hardware markings. An adjustment intended for one design may be unsuitable for another.
Signs a top-hung sliding door may need adjustment
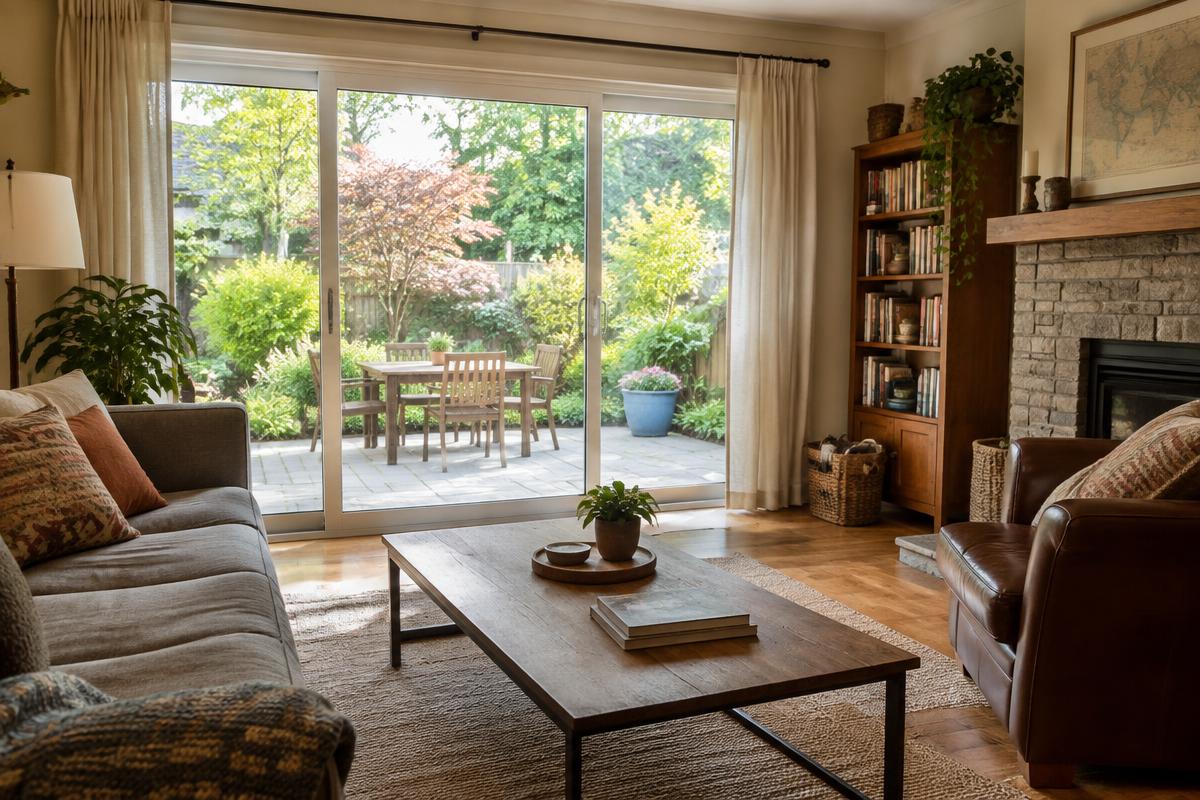
A changing reveal around the panel is a useful clue. The gap near the top or side may taper, the lower corner may approach the floor, or the latch may stop lining up even though the frame appears undamaged. The door may also drift, resist movement near one end, or rub lightly against a guide or adjacent panel. Compare its current position with its normal closed and open positions.
These signs do not prove that height adjustment is the answer. Packed debris, a loose guide, worn hanger rollers, a shifted track, or a changed opening can create similar symptoms. Stop using a panel that jumps, hangs loosely, or makes sudden cracking or grinding sounds. Glass or other heavy panels should not be pushed through severe resistance because a support problem can become a safety risk.
Tools and safety checks before adjustment
A basic inspection may call for a flashlight, vacuum crevice tool, soft brush, and the screwdriver or hex key that fits the identified adjuster. A small level can help record the panel's starting position. Use a stable step platform when access is above head height, and keep the work area clear. The correct tool depends on the hardware, so avoid improvising with pliers that could damage it.
The panel must remain supported throughout the check. Do not remove a hanger cover, guide, or retaining piece if its purpose is unclear, and do not detach the door from its track. Heavy panels should not be lifted or held by one person while hardware is loosened. If access requires panel removal, concealed structural work, or unfamiliar release mechanisms, stop and arrange an inspection instead.
How to adjust a top-hung sliding door step by step
Begin with observation rather than tools. Move the door gently only if it is stable, and note where it rubs, which corner is low, and whether the guide or upper track is the likely contact point. Clean accessible debris without dismantling the support system. Take a reference photo of each adjuster and its starting position so the original setting can be restored.
Where the manufacturer provides accessible height adjusters, make one small change at a time while the panel remains supported. Check the result after each change rather than turning several fittings repeatedly. The goal is smooth travel with suitable clearance and correct latch alignment, not simply a panel that looks level. If an adjuster binds, reaches its limit, or changes nothing, further force is not a solution.
- Identify the hanger and adjustment design before loosening anything.
- Clean accessible tracks and inspect the lower guide.
- Record the starting position of the panel and adjusters.
- Make a small adjustment with the panel properly supported.
- Test gentle travel and latch alignment after each change.
- Stop if hardware sticks, slips, or shows visible damage.
Common adjustment mistakes to avoid
The most common mistake is making large changes to several adjusters without recording their original positions. That can leave the panel uneven and make the underlying problem harder to diagnose. Another is treating resistance as something to overcome with a longer tool. A seized fitting may be corroded or damaged, and excessive torque can strip it or disturb the hanger connection.
Do not assume lubricant will correct a hanging problem, and avoid spraying the upper assembly indiscriminately where residue could reach the panel or surrounding finishes. Likewise, tightening every visible screw can remove intended movement or loosen a support when the wrong fastener is turned. Repeatedly forcing the door to test an unfinished adjustment can also damage rollers, guides, and tracks.
When to call a professional instead
Professional help is appropriate when the door has come off its track, hangs unevenly after a small adjustment, or shows damaged rollers, bent hardware, loose supports, or a shifted opening. The same applies when adjustment points cannot be identified or reached safely. A panel that chips, cracks, or suddenly feels unstable should be left alone and the area kept clear.
A proper assessment considers the hangers, upper track, lower guide, panel position, and frame together. Service may involve cleaning, adjustment, compatible hardware replacement, or correcting alignment rather than simply raising one corner. The scope depends on safe access, the door's construction, hardware condition, and whether suitable parts are available. You can request an assessment through the site's contact page.
Related services and guides
Frequently asked questions
How can I tell a top-hung sliding door needs adjustment?
Look for an uneven reveal, a panel rubbing at one end, new resistance during travel, or a latch that no longer aligns. These signs can also come from debris, worn rollers, loose guides, or frame movement. If the panel jumps or feels unstable, do not keep testing it.
What tools does a basic top-hung sliding door adjustment need?
The tools depend on the identified hardware. A flashlight, soft brush, vacuum, small level, and a correctly fitting screwdriver or hex key are common for inspection and minor adjustment. A stable access platform is important for overhead fittings. Do not improvise or remove support parts when the design is unclear.
What are the steps to adjust a top-hung sliding door?
Identify the system, inspect and clean accessible tracks and guides, and record the panel and adjuster positions. With the panel supported, make one small manufacturer-approved adjustment at a time, then test gentle travel and latch alignment. Stop if the fitting binds, reaches its limit, or the door becomes less stable.
What common adjustment mistakes should I avoid?
Avoid large unrecorded turns, adjusting several fittings at once, forcing seized hardware, and tightening unidentified screws. Do not lift a heavy panel alone, use excessive lubricant, or keep sliding a door that jumps or grinds. Restoring the original setting is sensible if a small change makes movement worse.
When should I call a professional instead?
Call for professional assessment when the panel has derailed, feels unstable, shows damaged hardware, or cannot be adjusted safely with clear instructions. The appropriate scope depends on access, door construction, roller and track condition, and compatible parts. Request service through the contact page rather than attempting unfamiliar support work.
Need help with your sliding door?
Request a quote through our contact form and describe what's happening with your track.